10 interesting and useful ways to repurpose old neck ties
Jul 09, 2015

It feels like an eternity since that you could go anywhere at night and see men dressed to the nines with a tie on. But now, men don’t wear ties a lot, unless they’re going to a wedding, business meeting or the races.
So this leaves us with a lot of ties from our husbands that we and they don’t have any use for. Or do we? Actually, there are plenty of great things you can do with old ties, and make them look stylish again.
Here’s 10 of our favourites.
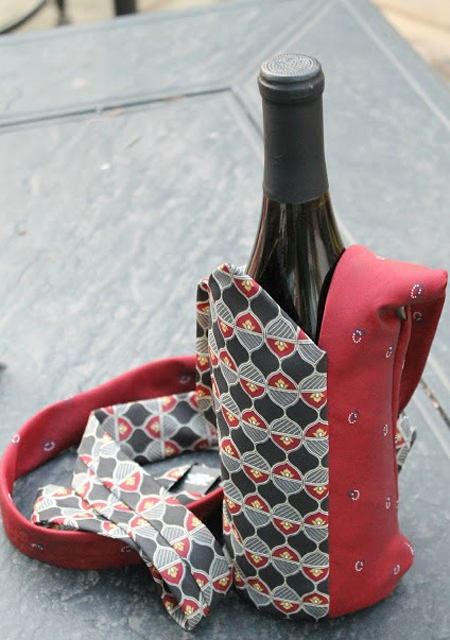
What you’ll need:
- two ties,
- sewing machine and thread or thread and needle
- pins
- a bottle of wine
Steps:
- Using your bottle as a guide to where to fold the ties, fold each tie in half with the front/right side together.
- Pin in place and sew close to the edge.
- Here’s the only tricky part: Turn one of the ties right side out and slide it into the other tie with right sides facing. Carefully pin making sure the fold at the bottom lines up. Sew about 1/8″ from the edge.
- Turn the tote right side out and tie a knot in the tie ends to make a handle.
- sewing machine
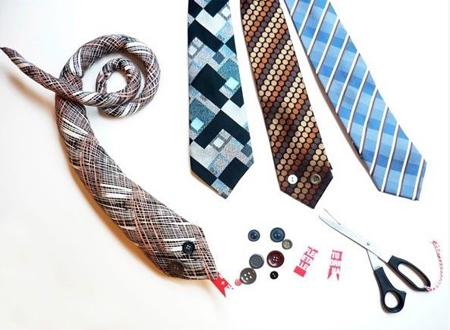
- scissors
- a men’s dress tie of your choice
- a large button (or velcro)
- corresponding thread
- a sheet of felt
Steps:
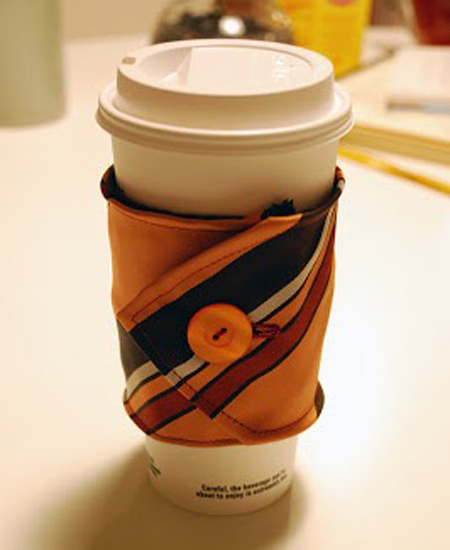
- Measure 33cm in from the very tip of the the fat end of the tie. Make a mark and cut across the tie to remove the end of it. We won’t be using the neck area of the tie.
- Cut out a piece of felt for the backing on the tie. It should be the same size or a tad bit smaller in dimension than the tie bottom. This will stabilise it and keep it from slipping around on the cup. Also, it will add an extra layer of insulation for keeping the drink warmer and keeping your hand cooler.
- Place the tie and the felt right sides together and sew along the top flat edge of the tie.
- Flip the tie over to where the wrong sides are facing each other. Sew all the way around the edge of the tie and the felt.
- Attach either a button or Velcro. The sewn flat edge will lay underneath the pointy end when you fasten it around the cup. This should fit a standard coffee cup. However, if you’re unsure about fit, the Velcro would be a better way to go as it’s more adjustable.
via Lime and Aqua
6. Snake
via Pinterest
7. Phone case

via Pinterest
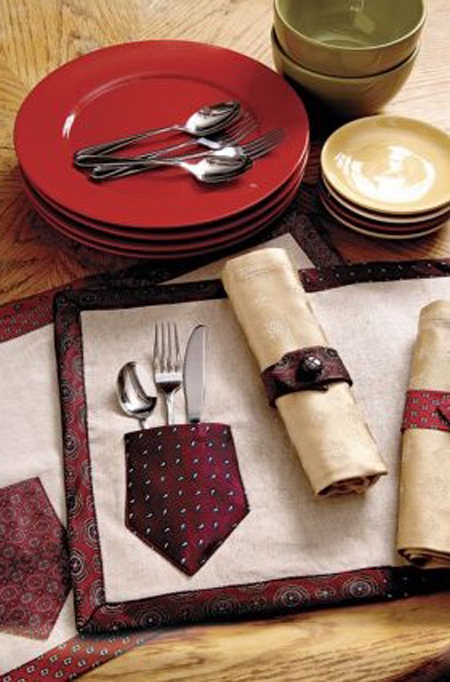
8. Table setting
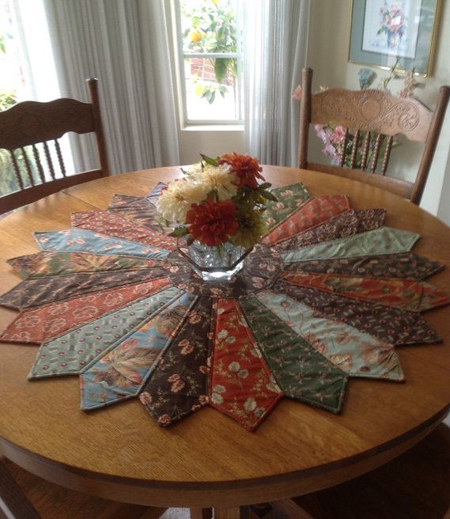
via Pinterest
9. Necklaces
What you’ll need:
- a tie of your choice
- sewing machine
- iron
- scissors
- big beads
Steps:
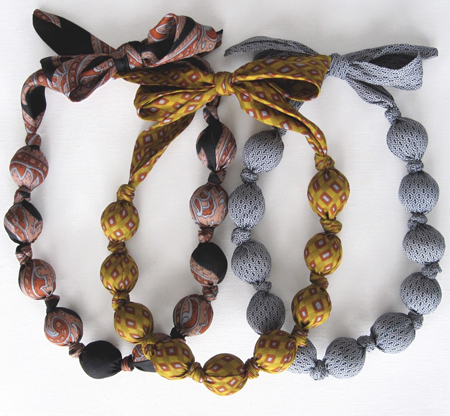
- Split the stitches of the tie and take out whatever is inside, being careful not to tear or put a hole in the the tie.
- Iron flat then trim into a long strip from tip to tip, about 9cm wide. This will vary from tie to tie.
- Fold in half right sides together. Sew the bottom end closed, and continue around starting down the length of the tie. Stop after about 7.5cm and back stitch. Skip 5cm and start again.
- Turn right-side out through the opening. Press flat.
- Tie a knot at about 18cm and drop in a bead. Knot, drop a bead, repeat about 8 times. Leave about 17 inches of space for the bow. This will also vary from tie to tie. It will take a bit of trial and error, just move your knots if you need more or less room to keep the ties even. Keep going until you have matching slack on both ends. Hand sew the hole closed.
via Althea Israels
Share:
Explore More
Book Confidently With Us


Pay safely with us


![]()
 Proudly Australian owned and operated