Keep your toaster in tip-top shape with this quick and clever trick

It’s the kitchen item we take for granted but many of us couldn’t live without – the humble toaster.
For many of us, warm toast is a reliable way to start the day but dealing with the build up of crumbs at the bottom of our appliance is a real pain.
However, one cleaning expert has a tip for getting rid of those crumbs and keep our toasters in tip-top condition – and you won’t believe how easy it is.
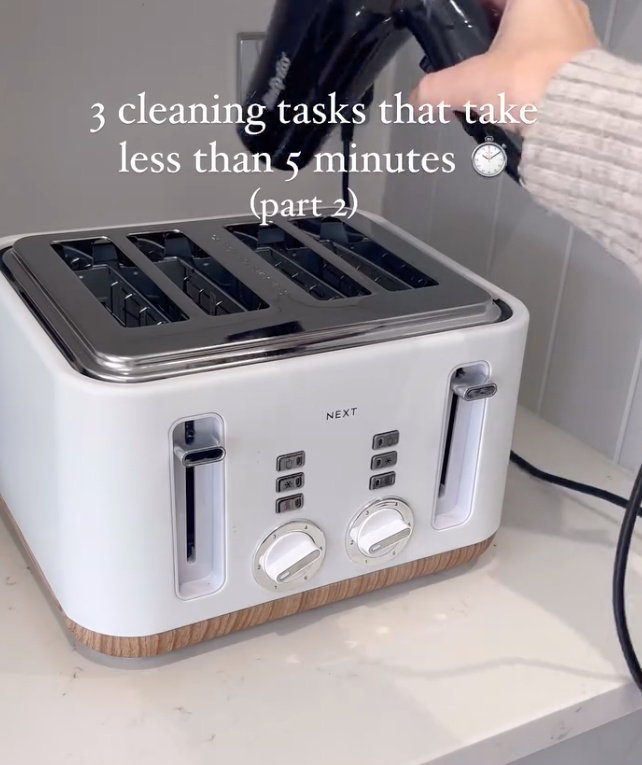
Going by the name @anna_louisa_at_home, Anna posted a video to Instagram where she showed her one million followers how to blast those crumbs away with your household hairdryer
In the video, Anna aims the hairdryer at the unplugged toaster’s slots, then blasts those crumbs away. In moments all debris is collected at the bottom of the tray for easy disposal. In a matter of seconds, Anna removes the trays from her toaster, gives them a quick wash with soapy water and is left with a super clean toaster.
Viewers were stunned by how simple the hack was and couldn’t wait to try it out for themselves.
“The hair dryer trick is mindblowing. I just need to try that when I’m home. So I think this is gone be my 5-minute task for today,” one commented.
“The toaster job is my worst,” one added.
“Love these tips. My toaster needs some serious TLC.”
“Sorry the hairdryer hack!!! Need to try.”
Looking for more tricks to cut down time on household chores? Well, another savvy cleaner has a trick for you.
Wrestling with a king-size quilt can be an exercise in frustration but fear not, as home organisation expert Anita Birges has come to the rescue with a genius hack that promises to transform this nightmare of a chore into a seamless task.
Birges, the mastermind behind @mise_en_place_aus on Instagram, recently shared the magic trick that has the internet buzzing.
So, what’s the secret key to this quilt-cover mastery? Birges breaks it down in five simple steps:
Step 1. Lay the quilt cover on top of your bed, inside out. With the opening at the foot of the bed.
Step 2. Lay the quilt on top of the inside out cover. Make sure they line up perfectly.
Step 3. Starting from the closed end of the quilt cover, roll the quilt and cover up together until you reach the other end.
“You will now have a long sausage type roll,” she explained.
Step 4. “Grab either end of the “sausage” and, holding the quilt and the side of the cover closest to it, flip the other side of the cover outward and around the ‘sausage’,” she said.
“Do up the buttons.”
Step 5. Unroll the “sausage” and like magic your quilt will be perfectly positioned inside the cover.
Thanks to Birges, making your bed just got a whole lot easier and a great deal more interesting.


 Proudly Australian owned and operated