
Sweet, savoury and surprisingly simple: Honey-fermented garlic


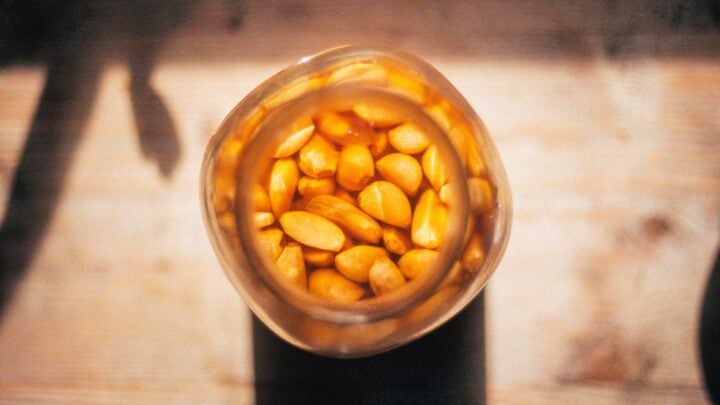
Garlic and honey might not be the first ingredients you think to put together, but given a little time, they transform into a rich, sweet and deeply savoury ferment that can be used in everything from salad dressings to marinades.
This recipe combines whole garlic cloves with raw runny honey and apple cider vinegar, before leaving the mixture to ferment and mature. While it can be eaten after two to three months, patience pays off, with the garlic becoming softer, sweeter and more mellow the longer it is left.
There are plenty of ways to put the finished ferment to work in the kitchen. Mash the garlic into a vinaigrette, drizzle the infused honey over cheese or pizza, use it to glaze roast vegetables or add it to a marinade for chicken or fish.
A note before you start
Caution should be taken when making honey-fermented garlic because the standard technique carries the risk of the rare but potentially harmful bacterium Clostridium botulinum, which is responsible for botulism poisoning.
This recipe includes a small amount of vinegar to increase the acidity of the ferment beyond the level at which botulinum can tolerate. While the inclusion of vinegar is described as a choice in the original recipe, it is recommended, with the recipe aiming for a pH of 4.2 as a margin because the ferment can drift during its early stages.
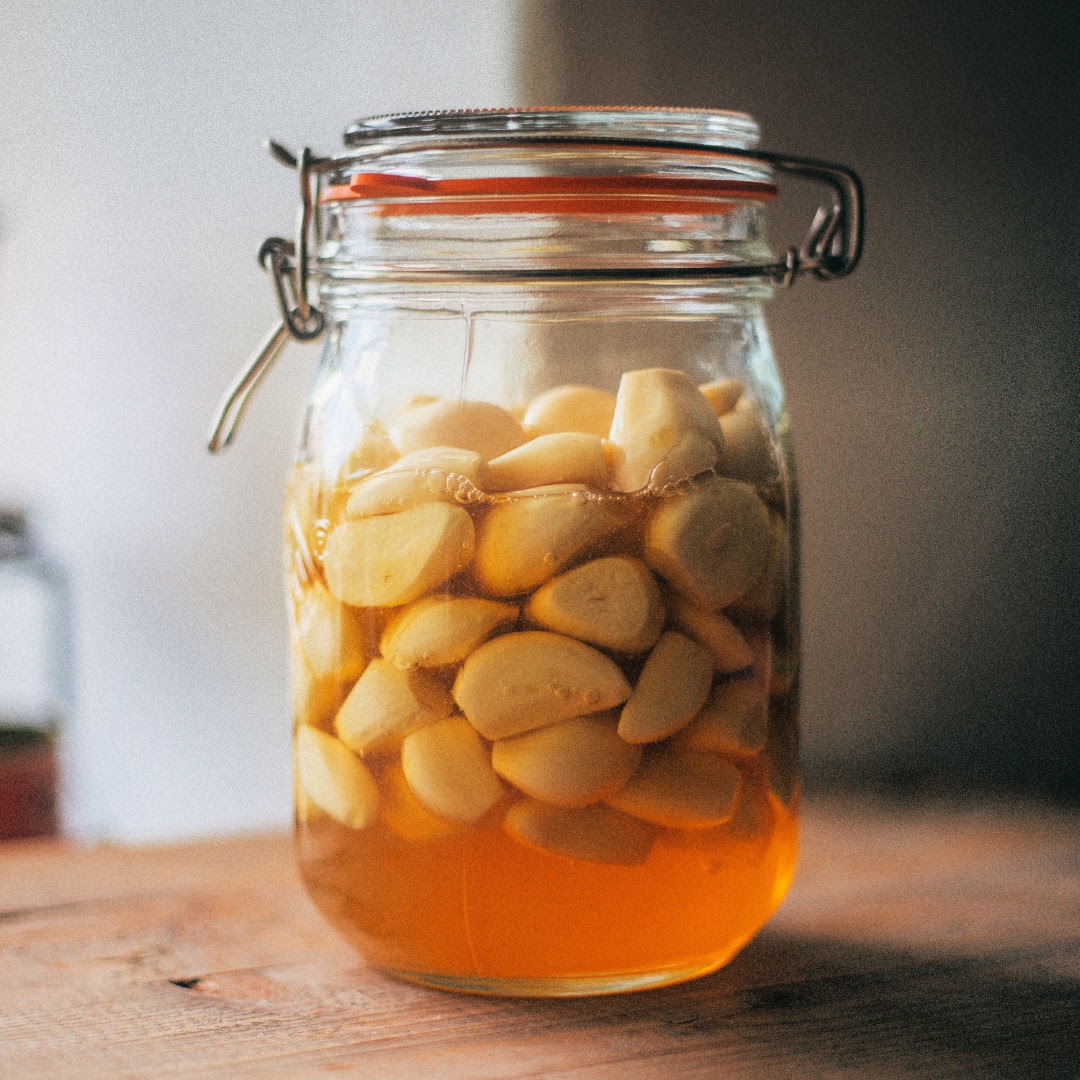
Honey-fermented garlic
Equipment
1-litre glass jar, Sanitised
Ingredients
9–11 garlic bulbs, cloves peeled but kept whole
650g raw runny honey
80g apple cider vinegar
Method
Add all the garlic cloves to the jar.
Add the honey and vinegar to the jar and mix well. Make sure to leave 3–4cm (1½–1¾in) of headspace above the surface of the liquid, as this ferment will get very active. Secure the lid and leave the jar out of direct sunlight at 18–25°C (64–77°F).
Each day, flip the jar over to make sure none of the garlic is left floating above the surface for more than 24 hours at a time. After 2 days, begin “burping” the jar (see p30) to release the carbon dioxide produced through fermentation. Continue burping and flipping the jar for 2–3 weeks until it becomes less bubbly (a sign that activity has slowed down).
Continue to let the garlic age for 2–3 months, at which point it’s ready to eat, but it gets even better if left to age for longer. After a year, the cloves become glassy and softer in texture, and have a mellow, sweet, garlicky flavour. Like this, they can last for 3 years, or even longer.
Recipe ideas
STRAIGHT FROM THE JAR
Many people like to snack on the garlic cloves like sweets.
SALAD DRESSING
Mash a clove of garlic and spoonful of honey into vinaigrettes with olive oil, mustard, and lemon.
DRIZZLE
Pair the garlic-infused honey with aged cheeses and cured meats. Or drizzle over pizza or even ice cream for a surprising contrast (trust me!).
GLAZE
Toss roasted root vegetables in some of the honey and chopped garlic for the final 10 minutes of cooking.
MARINADE
Marinate chicken or fish with the honey and some crushed garlic.
COMPOUND BUTTER
Mix some crushed garlic into butter with white miso for an umami-rich butter for spreading on toast or cooking with.
DIP
Stir the honey into plain yogurt or whipped feta with some fresh dill or oregano.
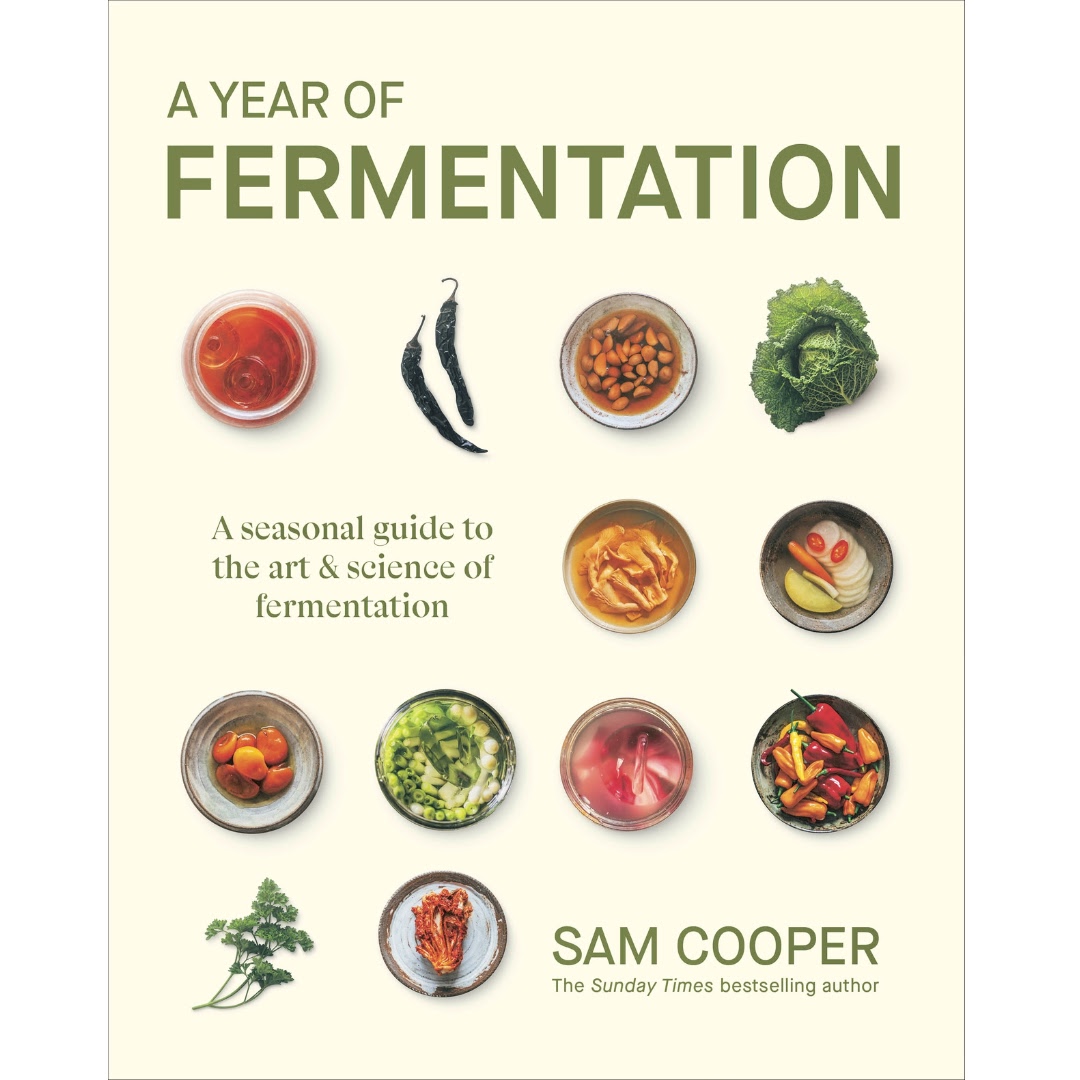
Extract taken from A Year of Fermentation – A seasonal guide to the art & science of fermentation by Sam Cooper published by Penguin. Available here





 Proudly Australian owned and operated
Comments 1
Join the conversation. Comments are reviewed before they appear.
Have used most of the above methods, and improvised with other condiments if I have run out of something. But good unadulted honey, organic apple cider vinegar, with quality pure olive oil, are the most important ingredients. One can add fresh or dried herbs.
Join the conversation
Tell us who you are to post a comment. We'll remember you next time.