Making, baking and breaking bread: My love of sourdough bread making

I love making and baking bread and have been doing so for years. These were ordinary loaves made with yeast and regular white flour. About 6 years ago I came across an article that was a reprint of Mark Bittman’s article in the New York Times article on his now famous ‘No Knead Bread’ which featured a recipe courtesy of Jim Lahey, owner of Sullivan Street Bakery. This recipe produces a chewy, crusty loaf which comes as a result of a fairly wet dough and a long slow rise. I love it as the work was minimal and the dough required a long rise which was overnight and in the fridge. The dough was baked in a pre-heated cast iron pot and the chewy, crusty loaf had me converted. I was still not satisfied though and longed for the taste of a good sour dough bread.
Having done a lot of research on the internet I discovered quite a few methods of making a sourdough starter. All it required was stone ground organic flour, filtered water, organic honey or grapes and lots of patience. The natural yeasts produced by the starter (which has to be fed regularly) eventually produce a starter that is kept going and can keep for as long as you feed it. My starter is now just over 4 years old, lives mostly in the fridge and taken out and fed and revived a couple of days before I need to make a new loaf. I have left the starter untended for over a month when away on holiday and all it requires is being taken out of the fridge an re fed for a few days and then when re fed with flour and water it bubbles back to life ready to produce yet another wonderful loaf.
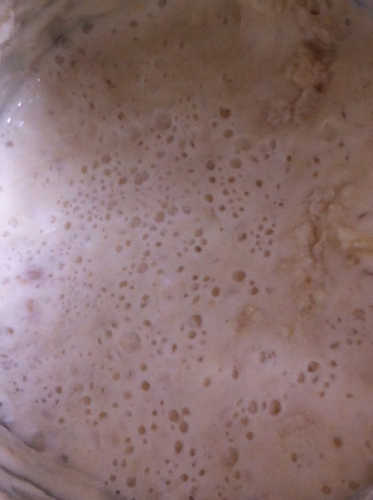
There are many recipes for making your own starter available online, and I would suggest doing your own research and finding one that suits you. I started mine off with some stone ground wholemeal flour, organic grapes and filtered water. The initial process took just over a week and there were times that it looks disgusting but be patient because it will produce a lovely frothy yeast mixture when it takes off.
At times – especially after a long holiday – I add a teaspoon of organic honey to help the starter on its way. Like a Master Stock, a sourdough starter can be kept going for ever.
I have since been experimenting with different types of flour, quantities of water and methods of cooking. I’ve even tried feeding the starter everything from rye flour, buckwheat flour, whole meal or plain flour and at times a mix of flours, I have found that rye and buckwheat flours provide a more pronounced sour dough. My recent breads have been made using 4 cups of flour which is a mix of 2 cups organic multi grain wholemeal, 1 cup spelt and 1 cup wholemeal flour. To this mix of flours I add about 2 cups water stir in and leave for 30 – 40 minutes. I then add 2 cups of my sourdough starter, 1 tsp organic honey and a teaspoon of salt. Mix this in and add a little more water if required and leave to rise for 30 minutes. The dough is quite sticky, add more flour if necessary. After 30 minutes I stretch the dough and fold it into 3 (the 2 ends towards the centre), repeat this twice more at 30 minute intervals and leave in a covered bowl for at least 12 – 18 hours hours. I usually do this late evening and leave the bowl covered in plastic wrap in the fridge overnight. The next morning get it out of the fridge, it would have more than doubled in size, and bring back to room temperature (2 – 3 hours). Stretch dough and fold once more and leave for 30 – 45 minutes, on a piece of baking paper.
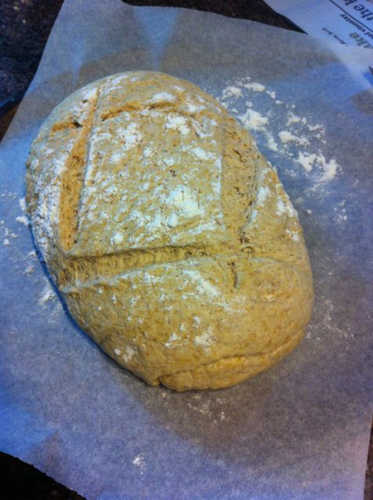
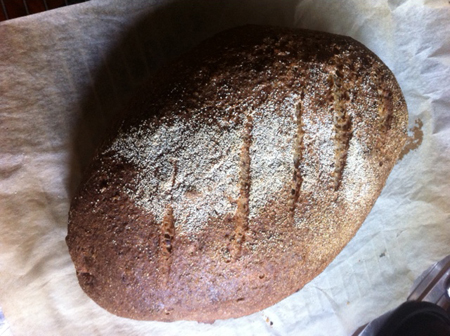
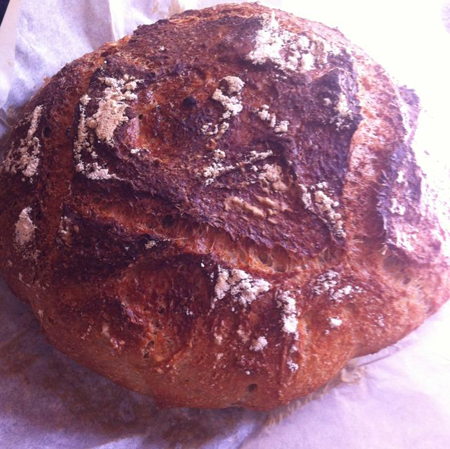
Heat oven to 220º and place a cast iron dutch oven to heat up. Lightly dust the risen dough with flour or semolina, fold/tuck in sides if the dough has flattened, slash the top with a sharp blade and place the dough and baking paper in the pot. Spray with water and cover with lid and bake for 30 minutes. Loaf should be golden brown and risen. Remove lid, spray once more, reduce heat to 200º and bake for another 30 minutes. The loaf should be crusty, brown and sound hollow when tapped on the bottom. Allow to cool on a rack for at least 1 hour. Don’t be tempted to cut it immediately. I prefer to slice it at least 2 hours after baking.
I sometimes add ¼ tsp of dried yeast to my dough at the time of mixing in my starter – this results in an airier loaf – with bigger holes. Although it is fairly time consuming, the joy of making your own bread and the pleasure of sharing the loaf with family and friends is great. You will soon learn when to start the process and get the timings right., as you will with the quantities of water which can vary depending on the weather and season. Experiment with flours, water and add herbs, olives, grains and nuts – have fun!
I have just read an article where the dough is NOT allowed to rise and placed into a cold oven and allowed to rise whilst the oven reaches temperature – I can’t wait to try this out!
I hope this will inspire you and like me you get hooked on the joys of sourdough baking.
Tell us, do you bake your own bread? What advice do you have for people who are perhaps considering making some for the first time?


 Proudly Australian owned and operated