3 easy DIY jewellery projects
Making jewellery is one of the most fun crafts out there but if you haven’t given it a go, it can be daunting to walk into a craft store and not know where to start! Even if you’re a jewellery expert, you’ll love these 3 easy DIY projects we found.
Trapeze earrings
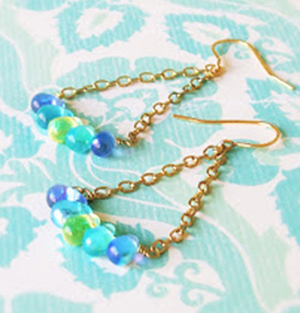
Time needed: an hour
Materials: pliers, gold chain, thin gold wire, gold ear wires, glass teardrop beads in your favourite colour
Step 1: Cut about a 7.5cm piece of your gold wire.

Step 2: Make a super small loop at the end, and twist the wire to hold.
Step 3: Thread on 5 of your glass teardrops. Then, make another loop at the end of the wire to finish, twist, and cut.

Source: Quiet Lion Creations
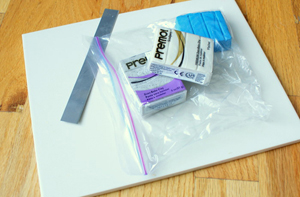
Colour block necklace

Time needed: an afternoon or evening
Materials: silver or gold necklace chain, 6 eye pins, 2 head pins, 3 colours of Polymer clay, needle nose pliers, cheap tile or smooth, flat, clean surface, non-serrated knife, wire cutters
Step 1: Condition the clay by simply mixing it and squishing it with your fingers. You may want to roll it into a log between your palms, fold it in half, and then roll again. The smaller the piece of clay you are conditioning, the faster it will soften up.
Step 2: Press the clay out into a flat, even pancake on the tile. Use your knife to slice off the edges into the shapes for your pendant.
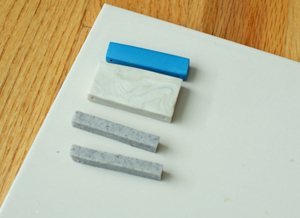
Step 3: Poke holes in each of the clay pieces. Use an eye pin, a wood skewer, bead reamer or any other thin, pointy object.
Step 4: Then bake according to the clay directions – my pieces were about 5mm thick so they took 30 minutes at 135 celsius.
Step 5: To finish, assemble the pieces and attach to the chain. Use your 6 eye pins (for the top three pieces) and 2 head pins (for the bottom pieces. Insert them through the holes you’ve made and used round nose pliers to make a simple loop (find out how here) to attach them together.
Finished and it looks great!
Source: Dismount Creative
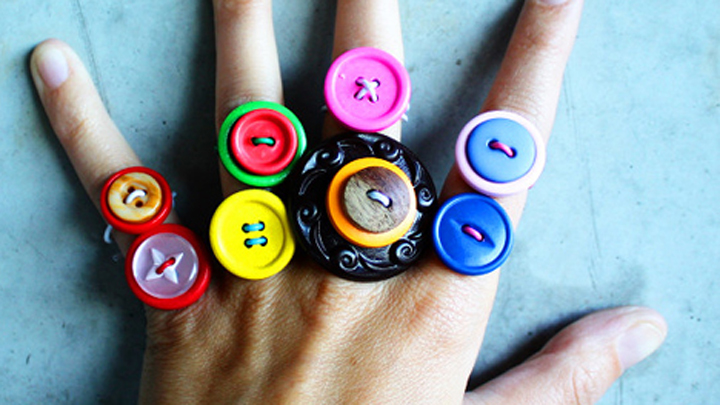
Button ring

Time needed: an hour
Materials: button collection, hot glue gun, plain rings with flat side
Step 1: Select your favourite buttons, placing the biggest first and stacking up. Be sure to choose your arrangement before you glue!
Step 2: Prepare your glue gun and glue the buttons on top of each other
Step 3: Hold in place and leave to dry
Ready to wear!
Source: Morning Creativity & Pink Chocolate Break
Do you make jewellery? What have you made? Or what other crafts do you enjoy? Tell us below.
Explore More
Book Confidently With Us


Pay safely with us


![]()
 Proudly Australian owned and operated